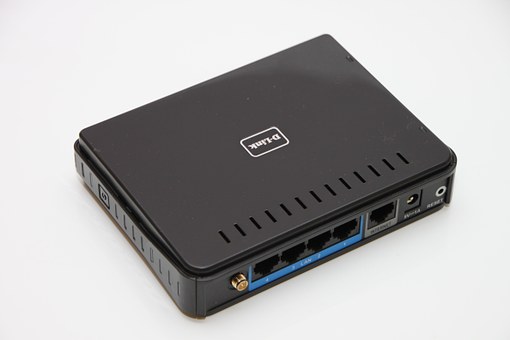
D’Link is one of the leading manufacturers for both wired and wireless routers. But in reality, it is not so much user-friendly. As a result, some users also don’t know how to perform Dlink router port forwarding. If you are one of those confused users, who want to know the detail process of it, then you are in the perfect article, it consists of a step by step guidance on how to configure port forwarding in Dlink router. But before going on that part, at first, let’s focus on the needs for the Router port forwarding. After which, you will be walked through the solutions part.
Need For D’link Router Port Forwarding
Port Forwarding feature is very useful while accessing the Internet from anywhere in the globe. It allows you to send requests to servers across the internet without other people knowing the IP address or original location, guaranteeing your privacy. This is a very effective way to protect servers and clients from unwanted access as well as limit the entrance to the network.
It also keeps unwanted traffic off from the personal network. This only allows you to use one IP address for all external communication on the Internet. Port Forwarding is very useful for the excellent online gaming experience as well.
Know How To Configure Port Forwarding In D’link Router
Here is a comprehensive step by step guidelines, which you should use to perform the Dlink router port forwarding.

Step 1
First, open the D’link Router’s Control Panel by going to the Static IP address in your Web Browser. There you will be asked for a password. If you don’t know the password of your router, then nothing to worry. The D’link default password is usually blank. Now enter “Admin” as the Username and leave the Password section blank. Click on the Login Button.
Step 2
After Logging into Router, Click on the ‘Advanced’ tab. After this, a Virtual Tab will open. After that, Click the checkbox next to the Open Virtual Server Tab and fill the Name section for this service. Also, fill the IP Address of the Device that you are setting up for Port Forwarding.
Step 3
Next, enter the Port for Both Private Port and Public Port. You need to make an entry for both of the Ports. Now Select ‘TCP’ for the Protocol Section and Select ‘Always’ for the Schedule Section. Now Save the Settings. Port Forward Entry is now added in your Router. Next, you should test if the Dlink Router Port Forwarding is working or not.
You will be surely able to perform the action on your own.
Suming It Up
Hopefully, using this article, you will be able to perform the action on your own. In order to perform the action with ease, try to follow each and every step carefully. It is recommended not to jump any one of the steps. If you have any further queries related to the steps provided, then you can leave a comment in the comment section. If you like the post, hit on the like button.
